Our expert hands-on support team is here to help with any project big or small - we take pride in developing long-term relationships with each of our customers so they trust us with their farming needs.
About AGRIPINOY
Agripinoy is a website dedicated to promoting and providing information about Philippine agriculture. We provide many articles and resources covering everything from farming practices to current events and policies affecting the industry. Our expert writers include seasoned farmers, agricultural scientists, and researchers committed to providing accurate, insightful, and fascinating content that informs and entertains our readers.
Make your agricultural dreams come true with Agripinoy! Our team of experts is ready to provide you with the assistance and resources needed for a successful farming venture. Reach out today and see as we cultivate growth in your business!
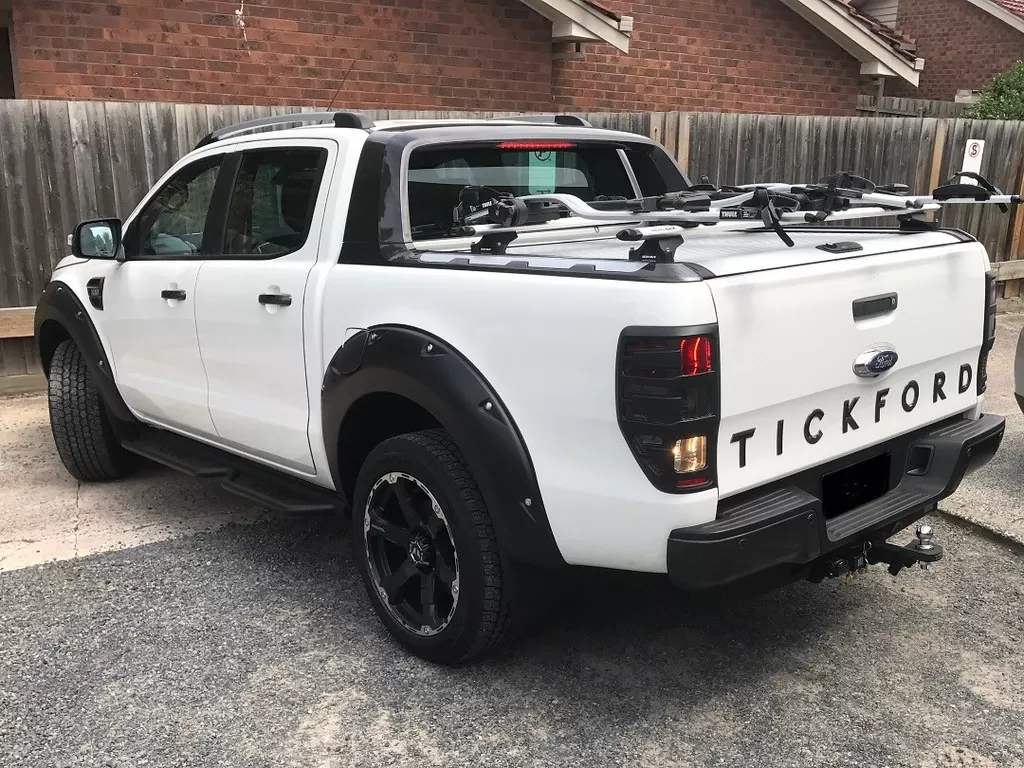
The last thing to consider will be some insurance, a lifetime warranty was available from the manufacturer so that would make me feel better. One thing to consider to an installed towing bar, it is better to consult professionals since they work faster and safer. They even provided me with new knowledge about tow bars. By the way, when we visited Australia I learned that there are certain guidelines for safe towing. I suggest that everyone should follow proper towing rules to avoid the hassle.
Sow the seeds of change!
Together, we can create a greener, healthier, and more prosperous future for all.
Ready to transform the future of agriculture and make a positive impact on our communities?